This article is about creating your own pentesting operating linux which is depends on Archlinux distribution. We will go from basic Archlinux installation from ISO inside a virtual machine, You can use this as daily system but I recommend first to start the installation inside a virtual machine first to avoid any data losing disasters. My Hypervisor that I will use is VMware Workstation, It doesn’t matter what hypervisor you want to use like VirtualBox, Hyper-V, etc. Also I will go with hardening the operating system security we are installing as possible.
Virtual Machine Specs
My specs for this VM will be the following, You can assign your own specs but this my recommended specs.
| Specs | Value |
|---|---|
| RAM | 4150 MB |
| CPU | 4 core |
| Disk | 100 GB For long term use |
Finish your VM configuration settings and move to the next part.
Partitioning
I will use the command line utility cfdisk for disk partitioning, Of course you can partition the disk with your own style but I prefer to partition it like the following as I will do a disk encryption and use LVM partitioning system.
Partitions structure
- Create partition for /boot (EX. /dev/sda1) : 1G
- Create partition for / (EX. /dev/sda2) : Rest of the disk size
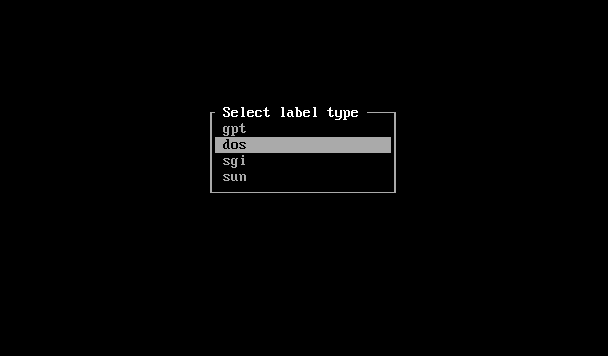
After launching cfdisk choose the label type “dos”.
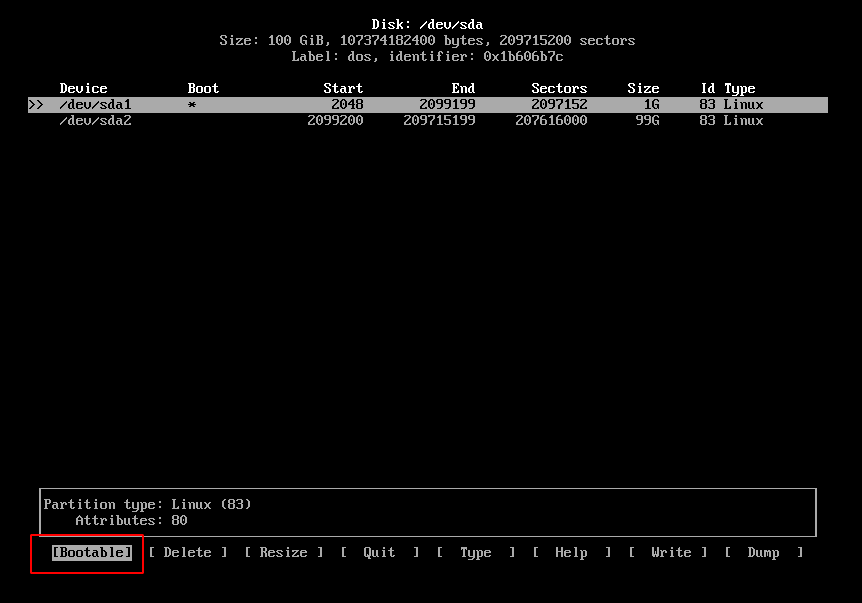
Then do the partition segmentation, one for /boot and one for our LVM partition, Then mark the /boot partition with bootable flag.
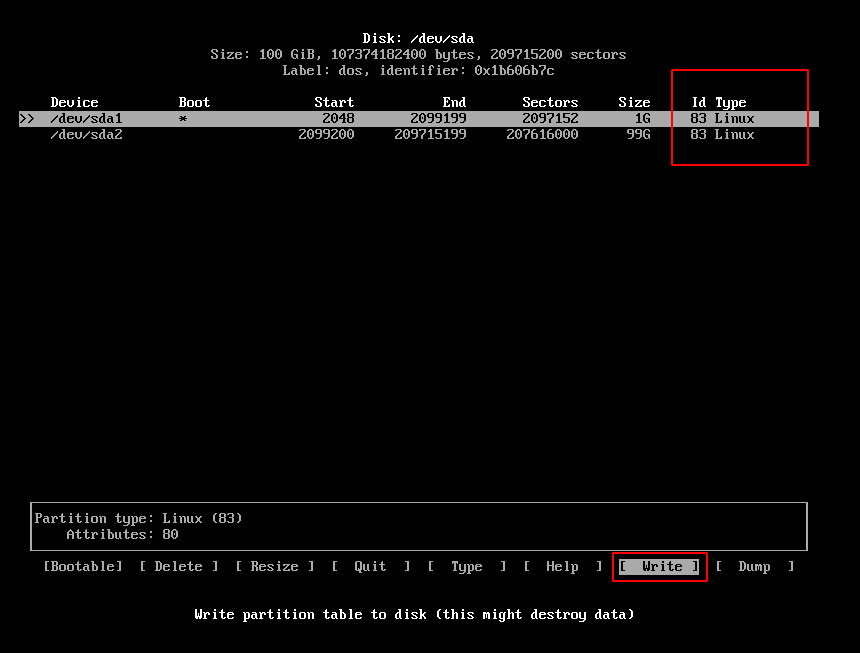
After finishing the partitioning process choose write to save and apply.
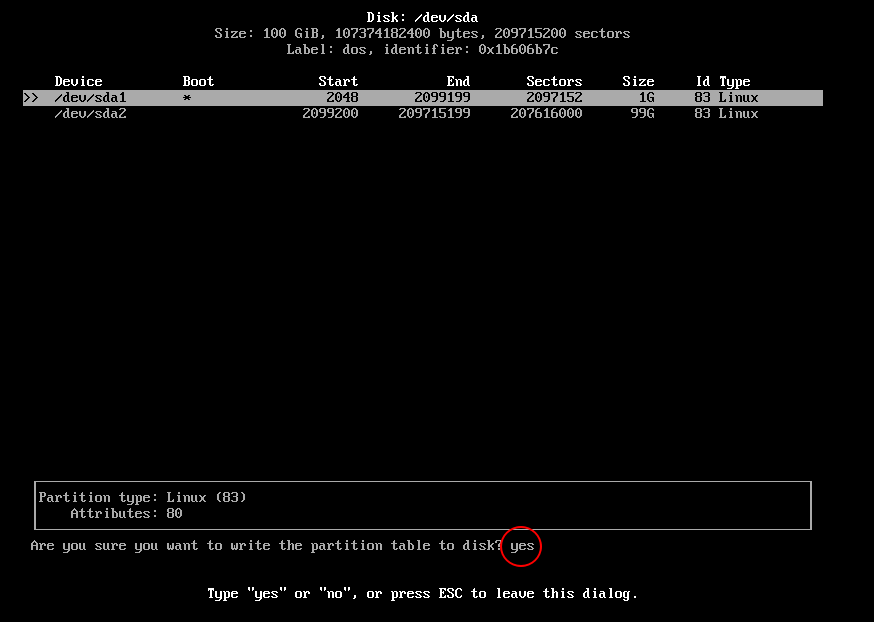
Type yes and press enter and it’s done.
Now we have our partitions created, Run lsblk command to make sure that the partitions created.

We will do a disk encryption against / partition, We don’t encrypt the /boot because this is the partition we are booting from, I know there is a many methods for encrypting /boot partition but I will not go for it in this blog post.
We will use Luks Encryption in this setup, The provide your passphrase key and DO NOT forget it this will be nearly impossible to recover.
Encrypt / partition
cryptsetup luksFormat --verify-passphrase --verbose /dev/sda2 # Assign passphrase
cryptsetup luksOpen /dev/sda2 r0ttenbeef # Open encrypted partition for using
ls -l /dev/mapper/r0ttenbeef # Make sure that partition exists
Create create LVM partitions, I will create two LVMs
- swap : 2GB
- / : The rest of disk size
Create LVM partition
pvcreate /dev/mapper/r0ttenbeef # Create a Physical Volume for LVM
vgcreate r0ttenbeef /dev/mapper/r0ttenbeef # Create a Volume Group
lvcreate -L2G r0ttenbeef -n swap # Create a Logical Volume for swap
lvcreate -l 100%FREE r0ttenbeef -n root # Create a Logical Volume for root partition
Now format the created partitions and /boot partition with Ext4 and create swap.
mkfs.ext4 /dev/mapper/r0ttenbeef-root
mkfs.ext4 /dev/sda1
mkswap /dev/mapper/r0ttenbeef-swap
swapon /dev/mapper/r0ttenbeef-swap
Installing filesystem
Now the disk partitions are ready, We need now to install the linux filesystem and some initial packages. We will be doing that by using pacstrap and this guy will do is install the base package which will have filesystem and other packages that is necessary for fully functional base system.
Install arch linux filesystem
mount /dev/mapper/r0ttenbeef-root /mnt
mkdir /mnt/boot
mount /dev/sda1 /mnt/boot
pacstrap /mnt base base-devel sudo vim
genfstab /mnt # If everything looks good
genfstab -U /mnt >> /mnt/etc/fstab
arch-chroot /mnt
Now we are inside our new minimal functional base system, From here we can install, configure and modify our OS as we want and that’s the power of linux specially A r c h L i n u x.
Installing and configuring the system
pacman -Syy # Update the packages
pacman -S lvm2 grub
Now edit /etc/default/grub to initiate the boot to the encrypted volume.
GRUB_CMDLINE_LINUX="cryptdevice=/dev/sda2:r0ttenbeef"
GRUB_ENABLE_CRYPTODISK=y
Save your configuration and install grub to the disk.
grub-install --recheck /dev/sda
cp /usr/share/locale/en@quot/LC_MESSAGES/grub.mo /boot/grub/locale/en.mo
Kernel installation - Long-Term Support Linux kernel
This step we will be installing the kernel we want to use, Here I will install LTS linux kernel for more stability, You can install the kernel you want for sure.
pacman -S linux-lts # Choose mkinitcpio
grub-mkconfig -o /boot/grub/grub.cfg
pacman -S linux-lts-headers
Initcpio configuration
Lets reconfigure the mkinitcpio which is a script that will load the kernel modules, What we going to do is changing the initialization of the boot process sequence before mounting the root file system.
- Edit
/etc/mkinitcpio.conf
HOOKS=(.. .. block *keyboard* *encrypt* *lvm2* filesystem fsck)
Now apply the new configurations.
mkinitcpio -p linux-lts
User configuration
Create the sudo user that you will be using later, Assign user password and continue the configuration process.
passwd
useradd -m -U -c "R0ttenbeef Master!" dh4ze-2
passwd dh4ze-2
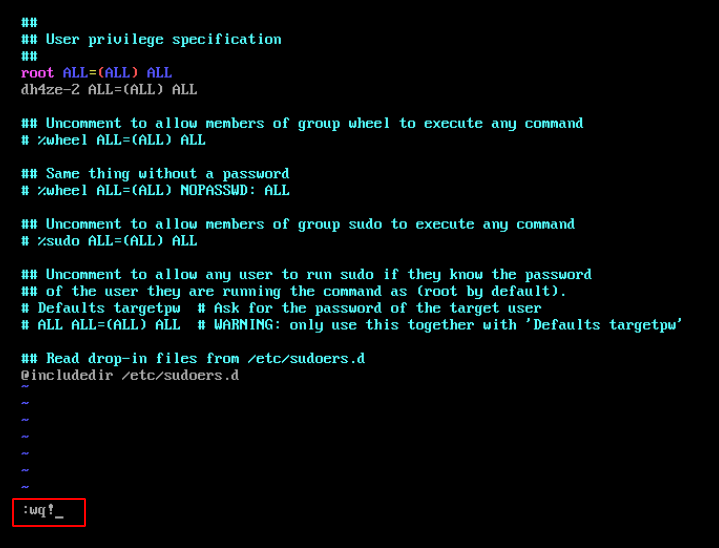
- Make user run commands with sudo by editing
/etc/sudoersfile.
Setting languages and timezone
- Edit
/etc/locale.genand uncomment the following line.
en_US.UTF-8 UTF-8
locale-gen
- Edit
/etc/locale.conf
LANG=en_US.UTF-8
ln -sf /usr/share/zoneinfo/YOUR_CONTINENT/YOUR_COUNTRY /etc/localtime
date # check if datetime correct
echo "YOUR_PREFERED_HOSTNAME" > /etc/hostname
Installing required packages for the system
pacman -S wget openssh openvpn openssl wpa_supplicant iw wireless_tools networkmanager network-manager-applet curl git bash-completion tmux htop pkgstats gst-plugins-good ttf-liberation ttf-bitstream-vera adobe-source-sans-pro-fonts ttf-droid ttf-dejavu ttf-anonymous-pro inetutils netcat nmap
Installing Desktop Environment - XFCE
Now in this step we will install the Desktop Environment for our fresh installed OS, Here I will use XFCE DE with LightDM for it’s stability, highly customizable and light weight.
You can use whatever you want like Gnome, KDE, etc.
pacman -S xorg xfce4 xfce4-goodies gvfs gvfs-mtp lightdm lightdm-gtk-greeter-settings light-locker gnome-keyring thunar-archive-plugin thunar-media-tags-plugin thunar-volman ffmpegthumbnailer pavucontrol firefox zip unzip unrar ntfs-3g pulseaudio viewnior evince mpv xdg-user-dirs
- Enable the needed services.
systemctl enable lightdm NetworkManager xdg-user-dirs
- After DE packages gets installed reboot the system.
After rebooting it should ask you for disk encryption passphrase.

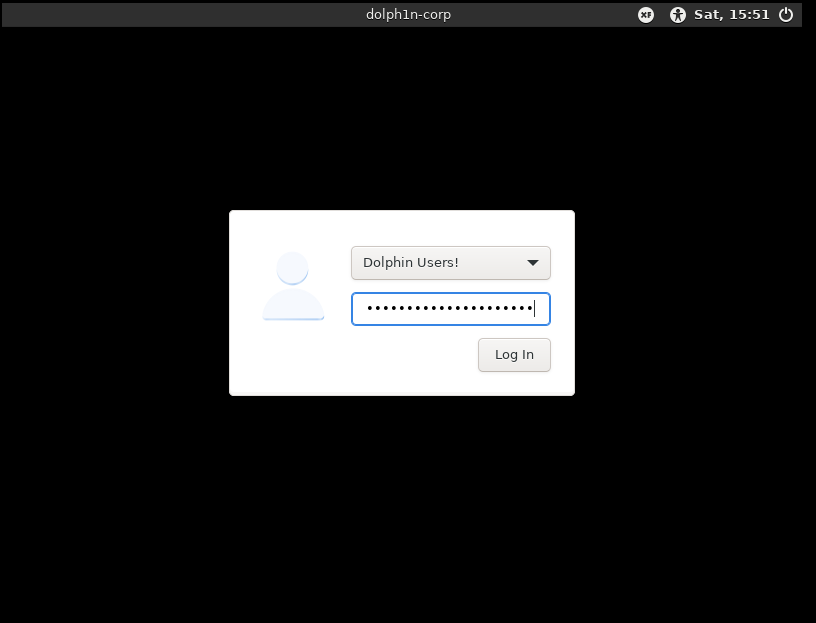
Now will asking for user password.
XFCE4 desktop is now up
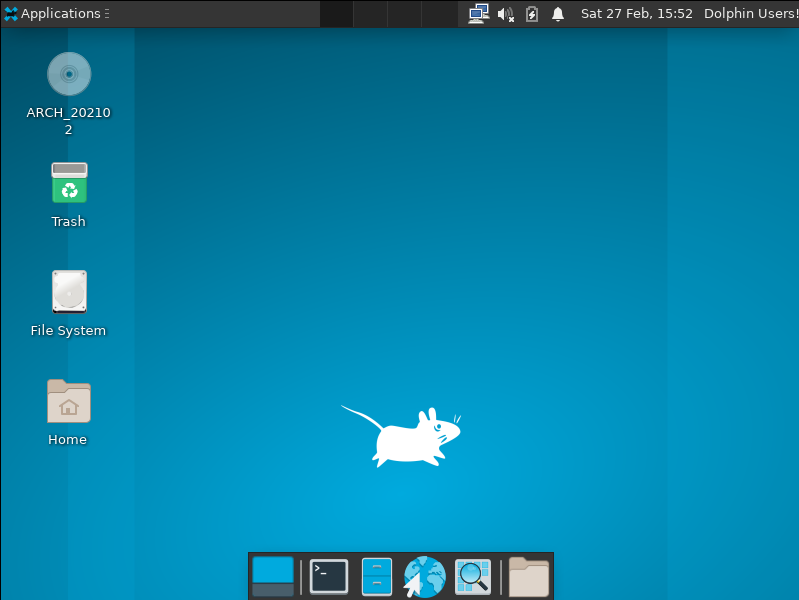
Don’t forget to install your hypervisor tools like VMWare tools, vbox tools or whatever you are using for faster stable system.
- I have done some modifications to the DE like changing theme, customizing panel, etc.
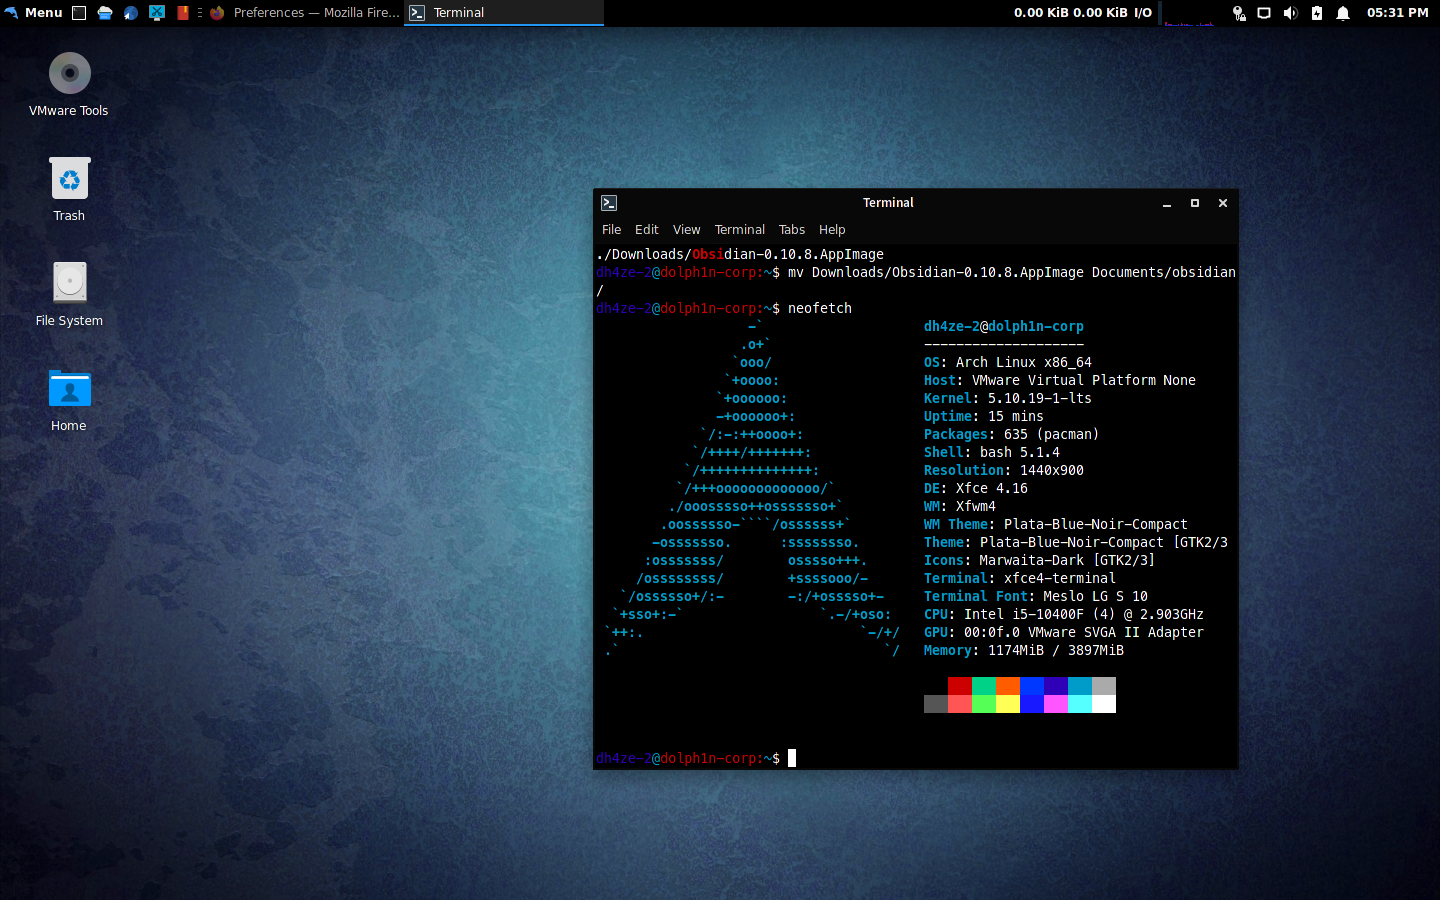
Finally! we have finished installing archlinux and Its DE.
Installing AUR Manager
I will install the awesome powerful AUR manager that contains packages the allow you to download and compile a package from source and then install it with pacman automatically.
- We will use yay as AUR package manager
git clone https://aur.archlinux.org/yay.git; cd yay
makepkg -si
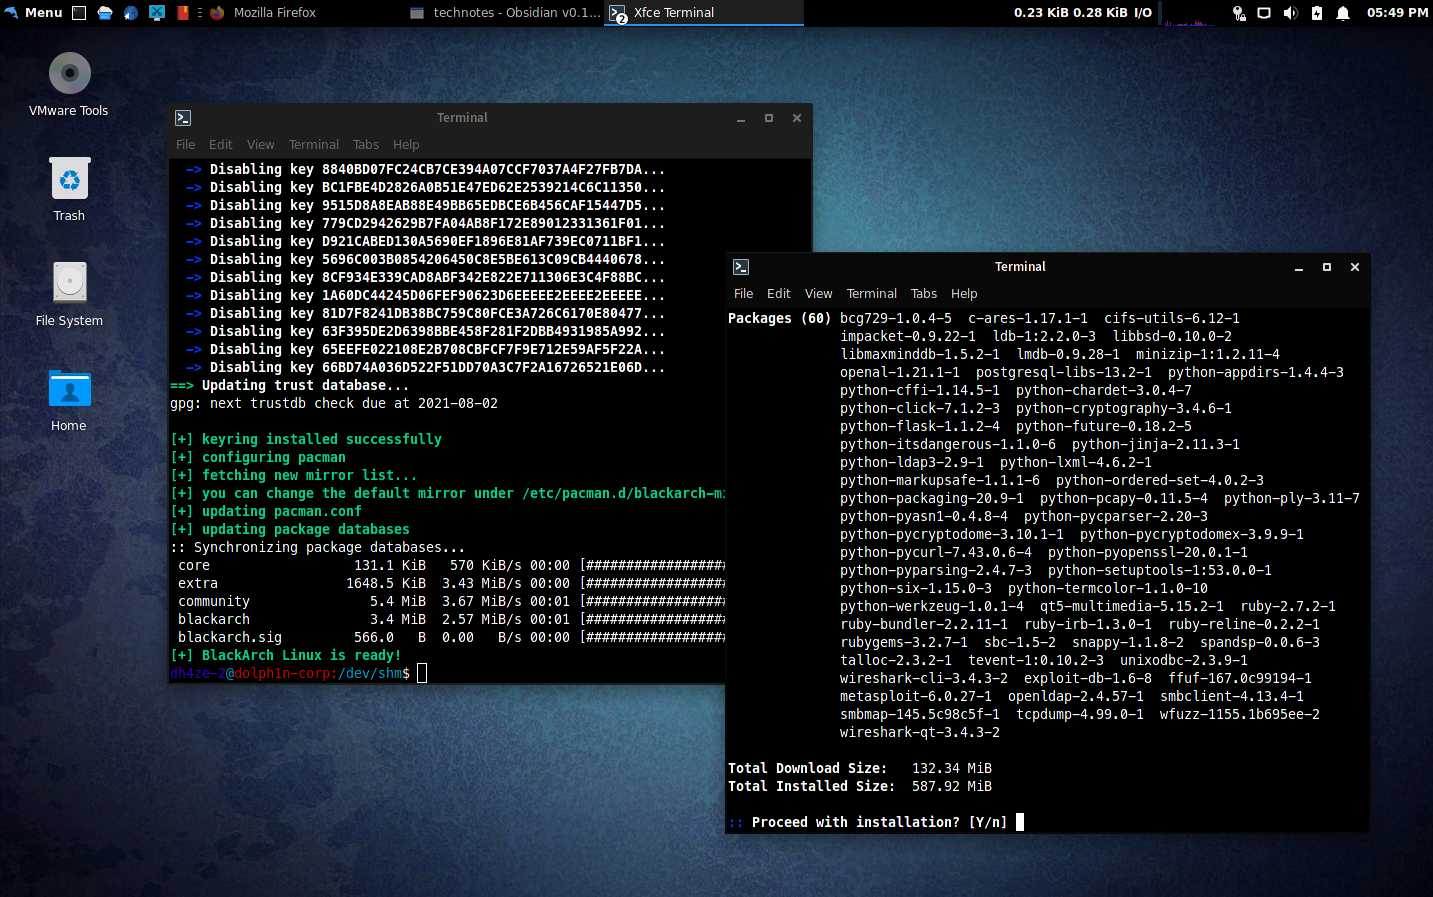
Add blackarch pentesting repository to archlinux
Now the most interesting part, Installing the pentration testing repository to our archlinux. We will be using the blackarch repository to install our tools from it.
curl -O https://blackarch.org/strap.sh
chmod 750 strap.sh
sudo ./strap.sh
- Now install your prefered pentesting tools
pacman -Syy && pacman -S burpsuite metasploit wireshark tcpdump ffuf wfuzz ..
Now we have a custom penetration testing operating system based on archlinux.
My bashrc settings
Let me share with you my .bashrc script, copy this to your user and root directory.
## Dolphin OS ~/.bashrc

# If not running interactively, don't do anything
[[ $- != *i* ]] && return

[[ $DISPLAY ]] && shopt -s checkwinsize

if [[ $EUID -eq 0 ]];then
    PS1='\[\e[31m\]\u\[\e[36m\]@\[\e[31m\]\h\[\e[34m\]:\[\e[36m\]\w\[\e[97m\]# '
else
    PS1='\[\e[35m\]\u\[\e[36m\]@\[\e[31m\]\h\[\e[31m\]:\[\e[36m\]\w\[\e[97m\]\$ '
fi

case ${TERM} in
  xterm*|rxvt*|Eterm|aterm|kterm|gnome*)
    PROMPT_COMMAND=${PROMPT_COMMAND:+$PROMPT_COMMAND; }'printf "\033]0;%s@%s:%s\007" "${USER}" "${HOSTNAME%%.*}" "${PWD/#$HOME/\~}"'

    ;;
  screen*)
    PROMPT_COMMAND=${PROMPT_COMMAND:+$PROMPT_COMMAND; }'printf "\033_%s@%s:%s\033\\" "${USER}" "${HOSTNAME%%.*}" "${PWD/#$HOME/\~}"'
    ;;
esac

[ -r /usr/share/bash-completion/bash_completion   ] && . /usr/share/bash-completion/bash_completion

export LS_COLORS='rs=0:di=01;34:ln=01;36:mh=00:pi=40;33:so=01;35:do=01;35:bd=40;33;01:cd=40;33;01:or=40;31;01:mi=00:su=37;41:sg=30;43:ca=30;41:tw=30;42:ow=34;42:st=37;44:ex=01;32:*.tar=01;31:*.tgz=01;31:*.arc=01;31:*.arj=01;31:*.taz=01;31:*.lha=01;31:*.lz4=01;31:*.lzh=01;31:*.lzma=01;31:*.tlz=01;31:*.txz=01;31:*.tzo=01;31:*.t7z=01;31:*.zip=01;31:*.z=01;31:*.dz=01;31:*.gz=01;31:*.lrz=01;31:*.lz=01;31:*.lzo=01;31:*.xz=01;31:*.zst=01;31:*.tzst=01;31:*.bz2=01;31:*.bz=01;31:*.tbz=01;31:*.tbz2=01;31:*.tz=01;31:*.deb=01;31:*.rpm=01;31:*.jar=01;31:*.war=01;31:*.ear=01;31:*.sar=01;31:*.rar=01;31:*.alz=01;31:*.ace=01;31:*.zoo=01;31:*.cpio=01;31:*.7z=01;31:*.rz=01;31:*.cab=01;31:*.wim=01;31:*.swm=01;31:*.dwm=01;31:*.esd=01;31:*.jpg=01;35:*.jpeg=01;35:*.mjpg=01;35:*.mjpeg=01;35:*.gif=01;35:*.bmp=01;35:*.pbm=01;35:*.pgm=01;35:*.ppm=01;35:*.tga=01;35:*.xbm=01;35:*.xpm=01;35:*.tif=01;35:*.tiff=01;35:*.png=01;35:*.svg=01;35:*.svgz=01;35:*.mng=01;35:*.pcx=01;35:*.mov=01;35:*.mpg=01;35:*.mpeg=01;35:*.m2v=01;35:*.mkv=01;35:*.webm=01;35:*.webp=01;35:*.ogm=01;35:*.mp4=01;35:*.m4v=01;35:*.mp4v=01;35:*.vob=01;35:*.qt=01;35:*.nuv=01;35:*.wmv=01;35:*.asf=01;35:*.rm=01;35:*.rmvb=01;35:*.flc=01;35:*.avi=01;35:*.fli=01;35:*.flv=01;35:*.gl=01;35:*.dl=01;35:*.xcf=01;35:*.xwd=01;35:*.yuv=01;35:*.cgm=01;35:*.emf=01;35:*.ogv=01;35:*.ogx=01;35:*.aac=00;36:*.au=00;36:*.flac=00;36:*.m4a=00;36:*.mid=00;36:*.midi=00;36:*.mka=00;36:*.mp3=00;36:*.mpc=00;36:*.ogg=00;36:*.ra=00;36:*.wav=00;36:*.oga=00;36:*.opus=00;36:*.spx=00;36:*.xspf=00;36:'

# colored GCC warnings and errors
export GCC_COLORS='error=01;31:warning=01;35:note=01;36:caret=01;32:locus=01:quote=01'

alias ls='ls --color=auto'
alias dir='dir --color=auto'
alias vdir='vdir --color=auto'
alias grep='grep --color=auto'
alias fgrep='fgrep --color=auto'
alias egrep='egrep --color=auto'
alias diff='diff --color=auto'
alias ll='ls -l'
alias la='ls -A'
alias l='ls -CF'
alias sudo='sudo '
alias ..='cd ..'
alias tree='tree -a'
alias ip='ip --color=auto'
alias pacman='pacman --color=auto'
alias yay='yay --color=auto'
alias open='thunar'
alias view='viewnior'
#alias cat='cat -v'
alias ccat='pygmentize'
alias nse='ls -l /usr/share/nmap/scripts/ | grep -i $1'
alias wfuzz='wfuzz -c'
alias curl="curl --user-agent 'Mozilla/5.0 (Windows NT 10.0; Win64; x64) AppleWebKit/537.36 (KHTML, like Gecko) Chrome/74.0.3729.169 Safari/537.36'"
alias ffuf="ffuf -c -H 'User-Agnet: Mozilla/5.0 (Windows NT 10.0; Win64; x64) AppleWebKit/537.36 (KHTML, like Gecko) Chrome/74.0.3729.169 Safari/537.36'"

## Man Pages
export LESS_TERMCAP_mb=$'\e[1;32m'
export LESS_TERMCAP_md=$'\e[1;35m'
export LESS_TERMCAP_me=$'\e[0m'
export LESS_TERMCAP_se=$'\e[0m'
export LESS_TERMCAP_so=$'\e[01;31m'
export LESS_TERMCAP_ue=$'\e[0m'
export LESS_TERMCAP_us=$'\e[1;4;34m'
Also you can use UFW firewall to protect your machine and control the ports you want to be allowed.
Have a nice day.